
Drawquarium Drawing Guide: Editor Tools That Matter
Learn the Drawquarium editor: templates, brush settings, symmetry, fill, eyes, fins, saved palettes, and how to design a fish that animates well.
The Drawquarium editor is a 2D paint tool wrapped around a 3D aquarium. That difference matters: a fish that looks crisp on the canvas can look muddy in the tank, and a fish with perfect detail can animate badly. This guide covers the tools visible in the official screenshots, the settings worth changing, and the design habits that make a drawing survive the trip into the water.
When a drawing is finished, the import guide→ explains how external PNGs are handled.
The layout
- Left: a template grid. The categories include fish, jellyfish, sharks, sailfish, eyes, and food shapes. Picking a template gives you a body that already animates.
- Center: the canvas, with undo, redo, save, and a name field above it.
- Right: the tool column and brush controls. The screenshots show shape, mirror, fill, brush, eraser, and several other tools, plus a color wheel, a hex field, and a palette.
- Bottom: the action button. It reads "What kind of fish?" in the fish editor and "Let's eat" in the food editor.
The exact icon order may shift between builds, but the three-column layout is stable.
Brush settings, translated
The fish editor screenshot shows Brush Size 50, Opacity 100, Flow 70, Hardness 85, and Lazy Mouse 1. Here is what each one does in practice:
Size is the brush diameter. Start large for the body and drop to 10–20 for outlines.
Opacity is how transparent the paint is. Keep it at 100 for flat color; lower it for shading passes.
Flow is how much paint is laid down per stroke. At 70 you can build color gradually. At 100 the stroke is solid from the first pixel.
Hardness is edge softness. At 85 you get a crisp edge with a slight blend. Drop it for glow and soft gradients.
Lazy Mouse smooths the cursor path. At 1 it is mildly smoothed; higher values make long curves easier but reduce control on small details.
Symmetry is the biggest time saver
Turn mirror on for the body outline, the tail, and the paired fins. Draw one side and the other appears. Then turn it off for the face, a spot pattern, or a scar. Perfect symmetry looks manufactured; one asymmetric detail makes the fish feel drawn.
Symmetry is also the fastest way to fix a lopsided body. If a fish looks wrong in the tank, the outline is usually the cause, and a mirrored redraw fixes it in a minute.
Fill, shapes, and stamps
The fill tool has threshold, opacity, and softness. A high threshold fills more of the outline; a low threshold leaves a gap. If fill leaks outside the body, the outline has a hole. Undo, close the gap, and fill again.
Shapes and stamps are for eyes, scales, and texture. Use them sparingly. A fish covered in stamps reads as noise at tank distance. One row of scales along the flank is enough.
Eyes and faces
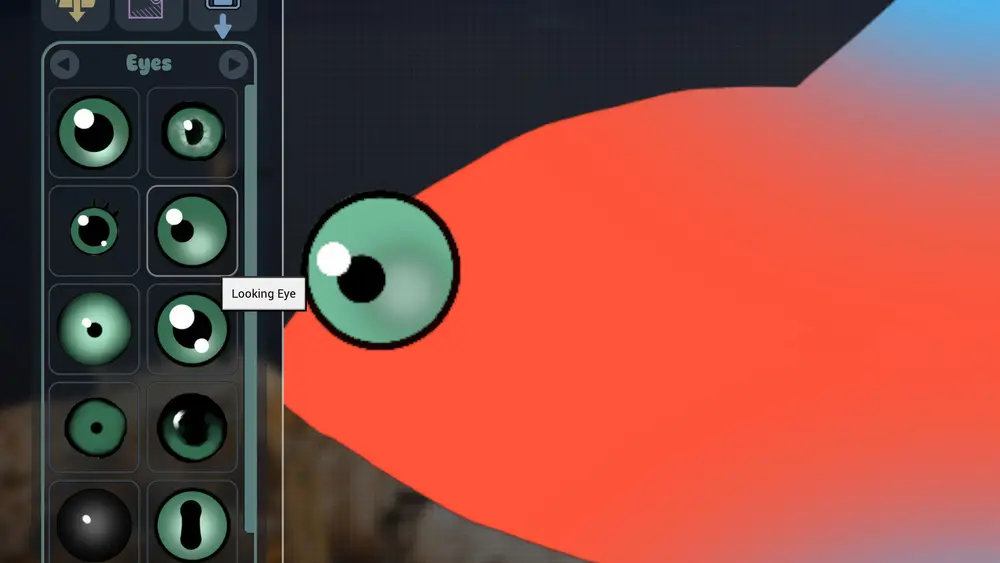
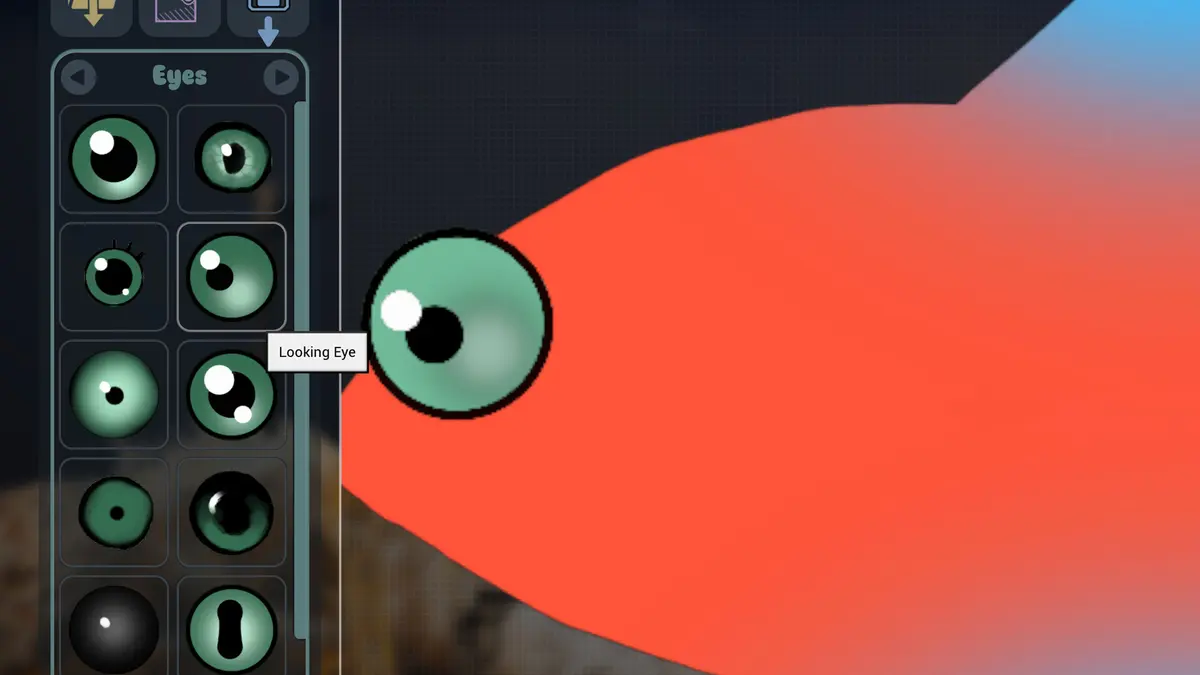
The eyes category is a template grid of eye art with tooltips. Eyes do most of the emotional work: a fish with big, forward-facing eyes reads as a pet; a fish with side-set eyes reads as a fish.
Place the eyes at roughly one-third of the body height from the top. Keep them large. Small eyes disappear when the tank scales down, and a fish with no visible eyes looks dead in wallpaper mode.
Fins and tails
Fins are where animation shows. A tall, simple dorsal fin sways; a thin, detailed fin flickers. Draw fins as solid shapes with one or two interior lines, not as a bundle of rays.
The tail should be at least as tall as the body is deep. A small tail makes a fish look like it is swimming with effort.
Designing for animation
The game animates the fish as a 3D object. That means the drawing is mapped onto a body that turns, swims, and banks. Three rules follow:
- Keep the silhouette readable from the side. Most of the time you see the fish in profile.
- Do not rely on a single perfect angle. A face that only works head-on will look wrong when the fish turns.
- Leave margin around the drawing. A fish that fills the canvas edge to edge gets clipped when it bends.
If a drawing looks great in the editor and wrong in the tank, the cause is usually one of those three.
Re-editing and saving
The September update says fish can be re-edited after they are saved, and that the editor now has zoom, a better fill bucket, texture stamps, shapes, eyes, fins, custom templates, and saved color palettes. Those are the features to look for when you open an old fish.
Save palettes you like. A consistent palette across a tank is what makes a group of fish look like a collection rather than a random assortment.
Draw the fish at 100% zoom with the brush at 50 or larger, then zoom in only to clean the outline. Starting zoomed in produces detail that the tank cannot show.
Official source: Drawquarium on Steam ↗ and the September editor update ↗, rokaplay ↗ and the Drawquarium Discord ↗
A ten-minute fish workflow
- Pick a template close to the body you want.
- Turn on symmetry and block the body in one color.
- Add a belly color and one stripe or spot cluster.
- Turn symmetry off and place the eyes.
- Draw the fins as solid shapes.
- Name the fish, save, and check it in the tank before adding more detail.
Most first fish fail because step 6 comes last. Check the tank early, then decide whether the fish needs more work.
FAQ
Do I need a drawing tablet?
No. The game lists Mouse Only Option, and the editor has Lazy Mouse smoothing for mouse users. A tablet gives more control for curves, but it is not required.
Can I edit a fish after saving it?
Yes. Re-editing saved fish is listed in the September update. Open the fish from its card or the editor's saved list, depending on the build.
What resolution should I draw at?
The editor handles the resolution; you do not pick a canvas size in the screenshots. Draw with large shapes and avoid single-pixel detail, because the tank will scale the art.
Why does my fish look blurry in the tank?
Usually because the drawing relies on fine lines or low-contrast colors. Increase contrast, thicken the outline, and simplify the interior.
More Drawquarium Guides
A Drawquarium fish list built from official screenshots and patch notes: body templates, bottom feeders, jellyfish, sharks, and golden fish.
Use Drawquarium as a focus companion: the clock, timer, journal, checklist, and wallpaper mode, plus a simple work session setup.
How the Drawquarium food editor works, which shapes to draw, how portion size affects leftovers, and why bottom feeders still need the vacuum.
A practical Drawquarium guide for the first hour: draw a fish that reads well, feed it, finish early goals, and unlock your first upgrades.
Where Drawquarium runs: Windows PC requirements, Mac and Linux answers, Steam Deck compatibility, mobile, and console availability.
Drawquarium's price has not been announced. What is confirmed, how regional pricing works, whether it is free, and how to avoid overpaying.
Drawquarium launches on November 13, 2026 for Windows on Steam. What is confirmed about the release, the trailer, wishlists, and launch day.
How the Drawquarium template grid works: fish, eyes, fins, and food categories, Golden Scale unlocks, custom templates, and saved palettes.